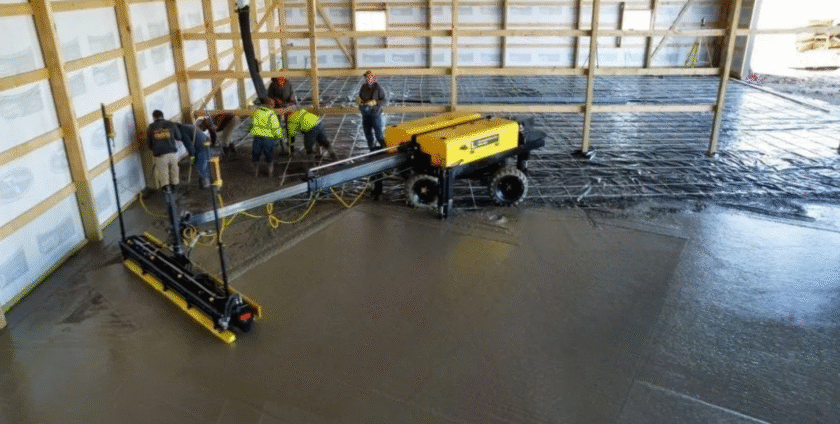
How to Use a Laser Level for Perfect Screed Flooring
A polished floor surface that gives you a floating sensation when you walk on it—sounds dreamy, right? Achieving this result takes more than magic because you need to work with precision. And the secret weapon? A laser level.
The small laser level tool determines your success with screed flooring projects. Learning to use a laser level becomes essential when you work on home projects or team up with Concrete Floor India for larger projects.
Why Screed Flooring Needs Precision
Screed flooring demands more than pouring concrete without care. You need to build a smooth, flat surface that looks great and stays durable. Uneven floors? Uneven floors create serious safety risks and damage the surface. Enter the laser level. The tool guarantees perfect levelness across the entire floor surface. A laser level screed flooring helps you work faster while saving materials and producing professional-quality results.
Step 1: Setting Up the Laser Level
You need to prepare first before starting the work.
- Set the laser level on its tripod base for stability. Stability plays a bigger role in the results than many people realize.
- Activate the laser level and watch it emit a beam into the room. The red or green laser beam should show up clearly on the wall surface.
- Set the beam height to reach your desired screed level.
Step 2: Marking the Screed Height
Now comes the fun part. Measure the floor distance from the laser beam at different points across the room. Note down the measurements you take. Why? Because consistency is king. When the laser level shows 3 inches at one corner and 4 inches at another, the adjustments must be made before proceeding.
A laser level helps you avoid manual measurements when laying screed floors. All measurements depend on the laser beam’s straight line.
Step 3: Preparing the Screed Mix
You must achieve the ideal moisture content between wet and dry for the mixture. The floor mix behaves like pancake batter during application. Spread the mix in small areas while watching the laser beam for alignment.
To level your mix, use a straight edge or screed bar as your guide. Move the screed bar slowly over the surface while watching the laser beam. When you apply the mix correctly, it will match the beam exactly.
Step 4: Double-Checking Your Work
Do not celebrate your work until you have finished laying the screed. Take a moment to recheck. Check the floor height with your measuring tape while you walk around. Compare the floor height to the laser beam. If everything matches up, congrats! You’ve nailed it.
But what if it doesn’t? Don’t panic. Adjust the material supply when necessary. Concrete Floor India tells customers to stay patient during this stage because fast work destroys the outcome.
Common Mistakes to Avoid
Even pros slip up sometimes. Here’s how to stay sharp:
- Don’t ignore the laser beam. It’s there for a reason.
- Avoid working in poor lighting. Well-lit areas help the laser level screed flooring process run more easily.
- Don’t skip calibration. A laser level that is not properly aligned will not help you achieve better results than working without one.
When to Call the Experts
Sometimes, DIY isn’t the answer. Professional assistance becomes necessary for big projects and complex floor designs. Concrete Floor India provides professional assistance for your needs. Their team of experts uses advanced tools to create beautiful screed flooring results.
Laser level screed flooring technology becomes easy to understand when you break down its steps into basic instructions. From setup to final checks, every detail counts. Keep practicing the method, and you will understand why it makes a big difference in your work. You can achieve smooth floors through proven methods.
- By: Info@concretefloorindia.com" >Info@concretefloorindia.com
- Tags: laser screed flooring
- Category: Laser Screed Flooring
- 0 comment

